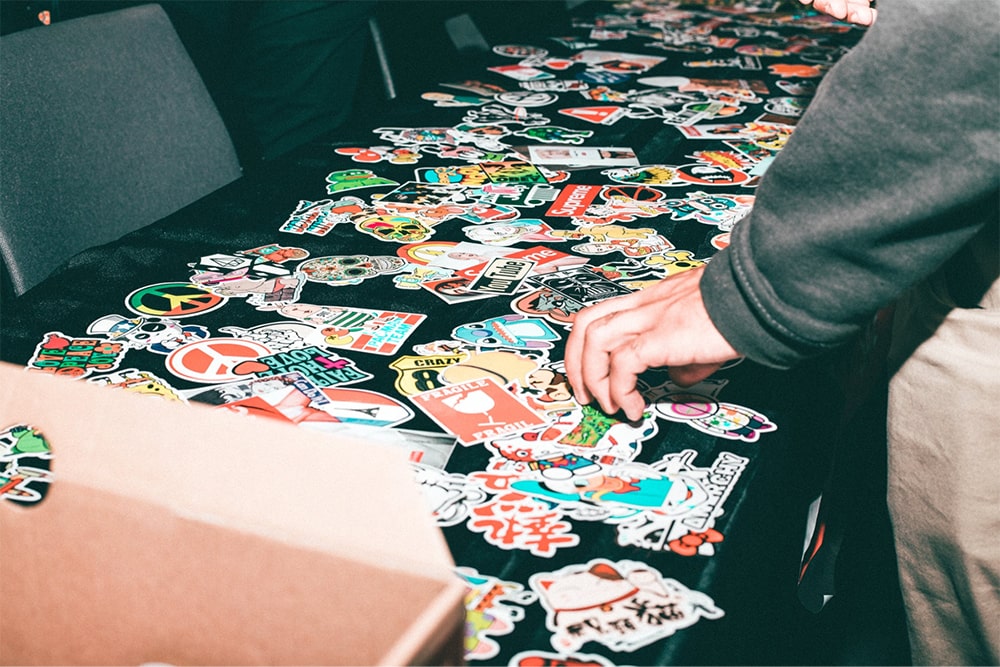
Back in the '90s, everyone was obsessed with collecting stickers as a hobby and for leisure reasons. Fast forward to today – despite the advancement of technology and all the options that have now been made possible in just a few clicks – everyone is still very much into stickers!
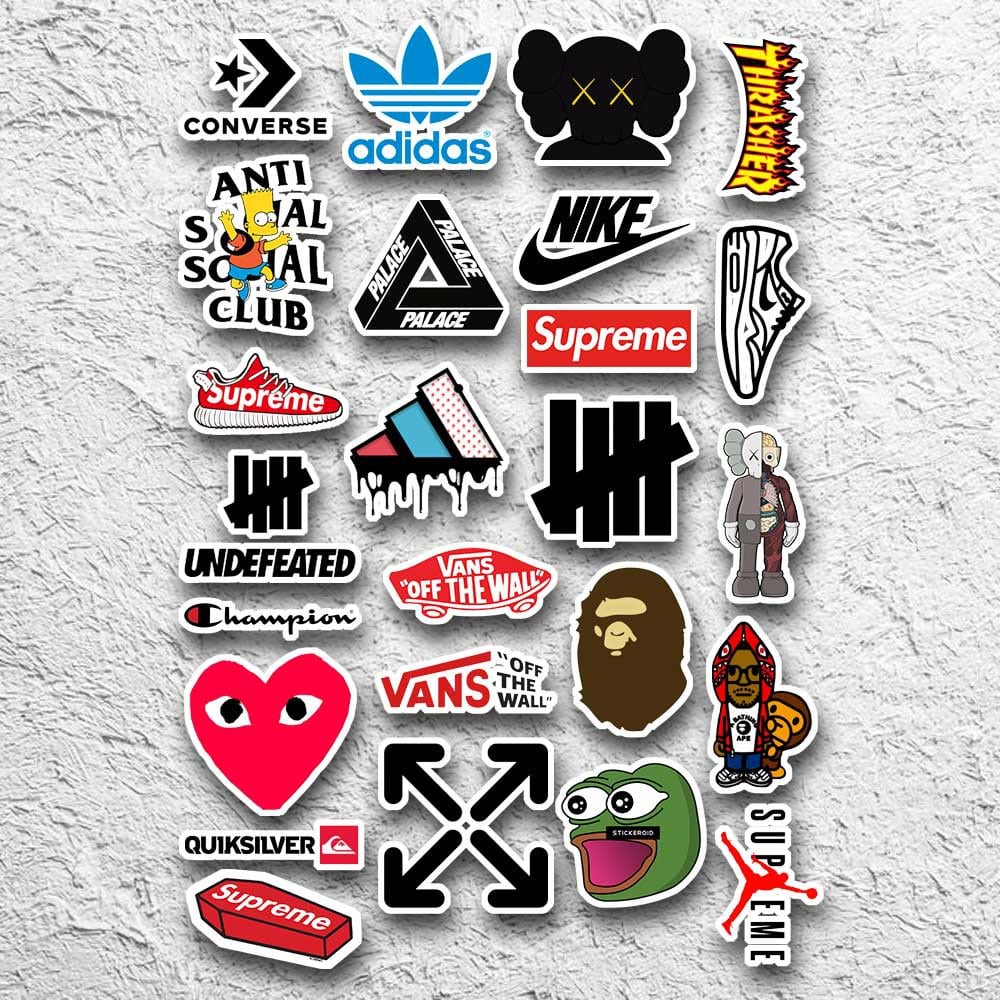 Image: Shopee
From checking out that funny sticker on the bumper of someone's car in traffic to unconsciously glancing at that Starbucks sticker on the back of someone's laptop, stickers are a fun way to build and leverage a brand's fan culture to organically raise brand awareness and reach.
Its versatility across many different placement devices means that it is here to stay, and it demands to be an integral part of your overall marketing strategy.
While it certainly doesn't require much effort to look and enjoy a funny sticker, designing them isn't as easy. Much like any other key marketing asset, a good sticker needs a full thought process behind it. From the copy to the image and colours used, there are key components to whipping up a good and effective sticker design.
It's crucial to have a reliable supplier for printing or post-production work on your sticker designs later on, but what is also helpful for brand owners such as yourself is a guide on what should be taken into account in each sticker design.
To support you and your sticker dreams, we'll go through the fundamentals of how you can design brand stickers with Brandripe to bolster your marketing efforts.
Unlike designing other types of marketing materials, you have to remember to hold back a bit when it comes to designing stickers. It's not a brochure; you only have a (mostly) small artwork area to work with.
Keep in mind the main objective of stickers is not to explain or tell a story about your brand or product. Rather, it's to catch attention.
Figure out what tagline or graphic works best in conveying the intended message and try to work out how those elements might conceptually look like.
A good idea is to figure out the tagline or copy in advance because that would affect graphics and other technical aspects of your sticker design.
To get the creative juices flowing, it's always a good idea to grab a blank canvas and start sketching your designs physically first before you elaborate on a software. The reason for this is that when you're putting your first thoughts or concepts onto Photoshop or Illustrator, for example, there are a lot of other technical bits you could potentially get sidelined by – such as fiddling around with the layers, re-cropping, etc.
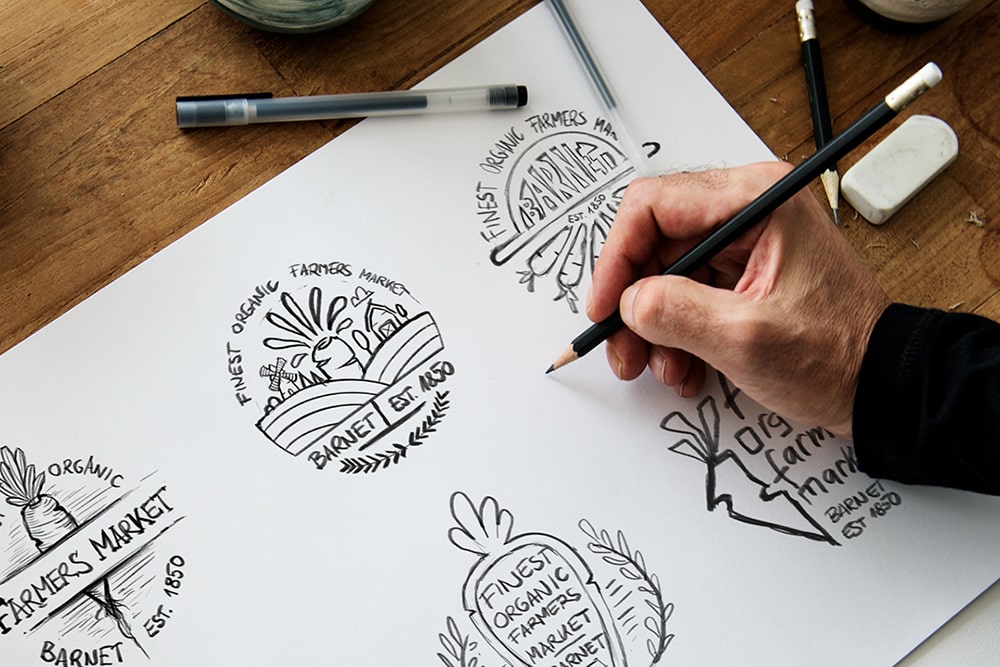 Image: YesImADesigner
That takes up a lot of time, hence why a number of designers still start by sketching so they can actualise the visual concept on hard paper first before getting into the digital design process.
Aside from having a catchy slogan and attractive graphic elements, a crucial part of sticker designing is actually determining the best shape.
After you've got a good idea of what the content should be, choosing the right shape should be far easier of a feat.
Safer options such as a square or a circle are a common choice, but choosing unorthodox shapes is useful especially if your brand colours, text or general look and feel are more on the minimalist or subtle side.
A more flamboyant or peculiar shape more often than not tells the story by itself, not to mention helps catch attention without having to be too loud.
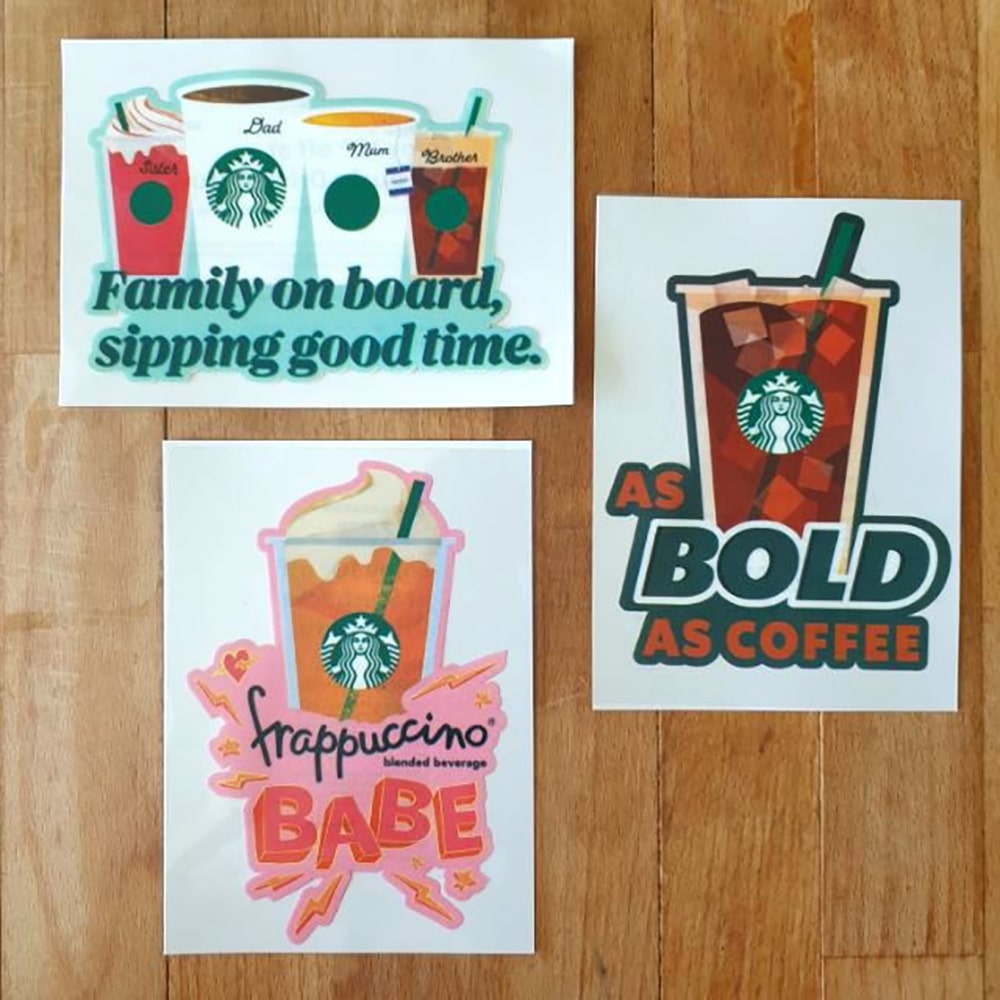 Image: Shopee
Before getting too creative with a custom shape, though, it is important to also think about where the end placement is going to be. If your sticker is intended for a wide surface area, there is a likelihood that it will be wrapped around an item.
Create some demo visuals before you proceed further to check how that sticker shape design works on different placements.
A wrap-around would mean that there is a clear middle parting to your sticker. In this case, you'll need to fit the design elements well within the shape so the message isn't cut halfway. Or, you can also configure this creatively to create an enticing hook and reveal a message split across two sides of the sticker.
Now that you have the design and the overall concept down, here are key technical considerations before you send anything out for mass printing.
If your sticker design is meant to be a large fit, it is recommended that the dimensions be at least 300 pixels per inch to ensure a high-quality print. Don't risk winging it with the supplier's printer because if your original design files are low in resolution, this would cause the final product to appear pixelated as it is stretched at printing.
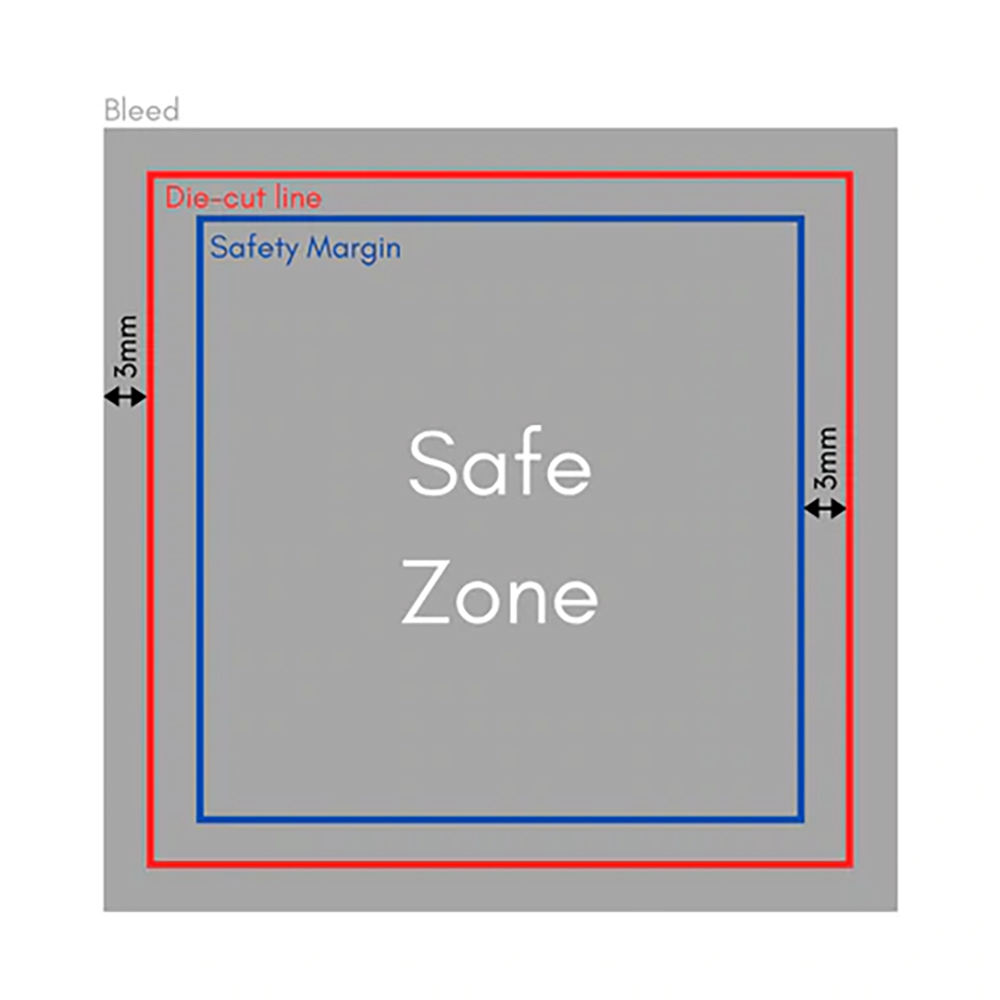 Image: Lighting Printa
At the same time, before exporting the final design file for printing, make sure that you have allocated bleed spaces at all sides.
Bleed is a term that describes the area where the design touches the edge (die-cut) of the sticker print. A recommended safety margin for printing is 3mm around all sides of the bleed area.
Think you're ready to send your sticker design for printing now? Not just yet.
The thing about brand stickers is that it is a statement that a consumer displays. This means that they're likely going to place it on high-touch surfaces such as their laptops, mobile phones, cars and other devices or items that are highly used in their daily activities.
Nothing turns consumers off more than having an overall poor vinyl quality. You have already put so much thought and craft into the creative process of designing the artwork, so don't make the rookie mistake of placing a bulk order all at once.
Always make a test order first with your supplier of choice. You need to test it yourself to be satisfied with the end-product quality. If a test order isn't viable, you can also request samples from the supplier beforehand.
Test the vinyl quality in practice across common placement devices such as on the back of your phone, for example. Use it in different conditions and exposure to know exactly what you're getting (and if it’s worth the money you’re spending).
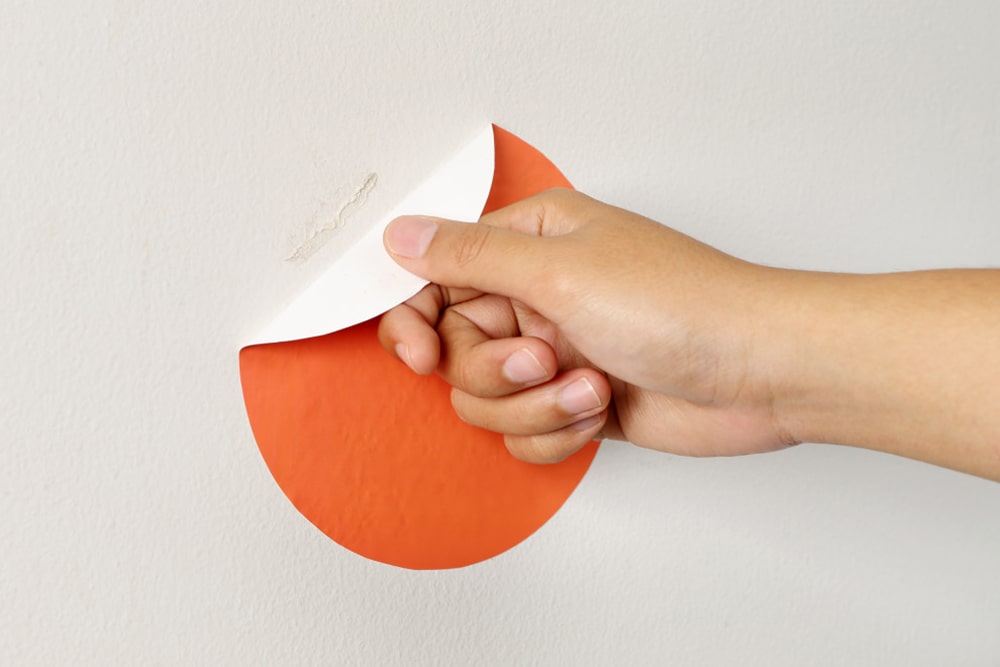 Image: Cleanipedia

Whatever your sticker needs are, be it to use as an organic brand fan culture tool or even if it is to be used as a wider interior store concept design, there are many benefits to partnering with Brandripe to fulfill your creative needs.
We're a team of experienced creative design professionals that has been a trusted partner for brands and companies of all scales, including some of the largest names in e-commerce such as Zalora and more.
But what makes us a good fit for many is the flexibility that we offer in terms of partnerships that will fit both your budget and needs.
Our plans are affordable with no hidden cost, starting from just RM1,695 on a monthly renewal basis to up to 20% savings on annual subscription plans, but we can always talk about cost later.
For now, just know that on the creative side of things, we also guarantee a 24- to 48-hour turnaround time and unlimited revisions and allocations at no extra charge to you.
What’s more, is that our partnership does not need to stop at just stickers. We can help you design ads, packaging and even NFT!
The possibilities are truly endless, so let's talk! Schedule a 15-minute VIP demo call with one of our team members, and we'll walk you through the fuss-free process of signing up with us, how we can help you with your graphic design needs, and more.